Want to reduce the time you spend on updating your kitchen? Painting your kitchen cabinetry without sanding is an option. For a faster project, you don’t have to sand the cabinets. All it takes is a little planning in advance.
Can you paint over cabinetry without sanding it?
It’s okay to skip the sanding if you are painting a raw unvarnished cabinet or switching from one freshly painted surface to another.
It’s important to lightly sand your cabinets if they have damaged surfaces or peeling paint. The doors should be smooth, not slippery, to the touch.
To avoid sanding before painting, you can lightly roughen the surface of your cabinets with mineral spirits. While this method does not open up wood cabinets as much as sanding, it will give the primer a more sticky surface to adhere to.
What to do when painting kitchen cabinets (without sanding)?
You can paint your cabinet without sanding it down.
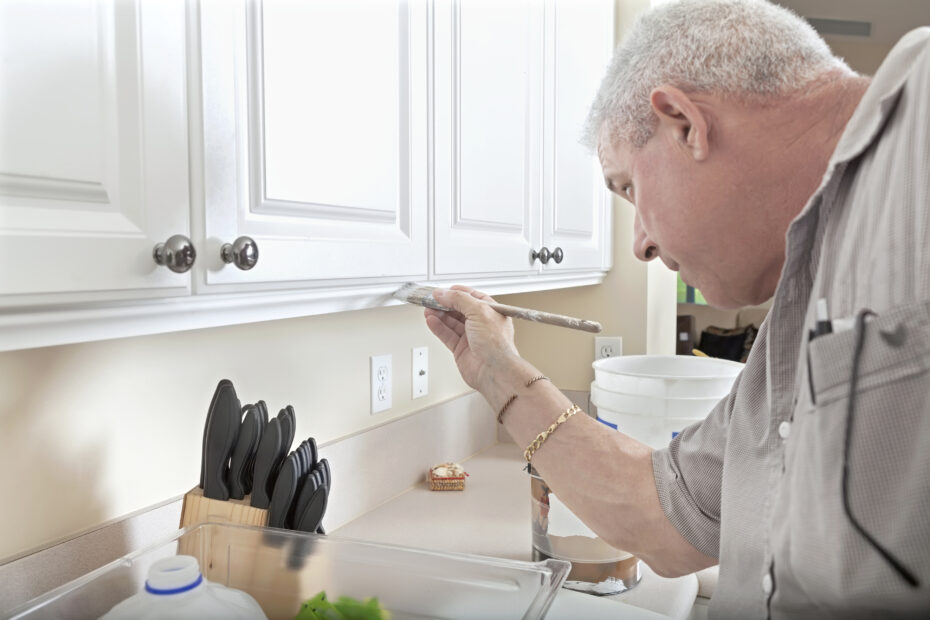
- A cabinet painting kit can be tinted according to your preferences. De-glosser can be found in many commercial kits to remove previous coats of cabinetry paint. It is not necessary to prime or sand surfaces already painted.
- Number each cabinet front and door. You can tape numbers onto the fronts of the cabinet doors before removing them.
- Clean cabinet doors and drawer fronts. Clean all the cabinet surfaces you will paint with soap and warm water.
- Remove any bumpers from cabinet doors, drawer fronts, and cabinets.
- If you are working with drawers or doors, it is important to remember where each one goes.
- Then, wipe the cabinet down. With a wet towel, clean the surfaces, being sure to remove all the finishing. Then, switch to a clean and dry rag, and wipe all the surfaces. The surface should now have a matte finish.
- It is best to let the surfaces dry for around an hour.
- Be sure to mask any kitchen areas that you don’t want paint to touch.
- Application of bond coat is done with a brush that measures 2 inches in length. Apply the coating along the grain. It is important to wipe off any drips at the edges.
- Use bond coat on cabinet frames.
- The bond coat should be allowed to dry out for at least two hours.
- After the first coat, apply a second and allow it to dry for approximately two hours.
- Final protective topcoat with poly (which adds sheen, and provides some protection)
- Install cabinet and drawer fronts. Put back hinges or drawer pulls.
How to Paint Wood Cabinets
The right primer is essential. Your cabinets will need to be well-covered by the paint. Primer is a great way to make your paint stick. It also helps cover up dark and old colors and stains.
Make sure the primer you choose is designed for cabinets, not walls. You can find “bonding primes” that have been designed to work on difficult surfaces.
Better quality paint will give you better results. The kitchen is a place where you want to use a tough paint. It should be able to handle the daily heat, and the humidity that comes with use. You should look for formulas containing titanium dioxide instead of calcium carbonate.
As in bathrooms, kitchens also require paint that is resistant to water and mildew. This should not peel when exposed to steam. The best paint for the kitchen is semigloss, satin or matte.
Supplies Needed For This Project
Although you do not always need to sand cabinet surfaces, it is important that the surface be very clean.
- You can clean all surfaces using a dish soap mixture with some water and a grease-cutting detergent. In a spray, you can use vinegar mixed with water. Or, you can use straight vinegar for a few minutes on any grease that has hardened.
- A gentle scrubber is the best. Want to get rid of some angled cabinets trims? With a Microfiber cloth or a melamine sponge, you can remove any stubborn grease splatters.
- Pick the best paintbrush to suit the task. When applying paint and primer to your cabinetry we recommend using a 2 1/2 inch angled roller and a smaller 4-6” brush.