Installing shiplap in your house, garage, or basement is easy. It’s easier than you think. It’s possible to create a stunning look.
Shiplap is great for creating beautiful accent walls in rooms, covering ceilings or transforming entire garages or basements to create new living spaces.
Shiplap is still a popular choice when you want to give your home a rustic but elegant look. Shiplap is not only durable but also fast and easy to put up. This is especially impressive when compared with the hassles involved in installing drywall.
Anyone who has ever tried to hang drywall can attest to this. The tedious tasks of cutting, screwing down and taping the panels is enough. Now comes the messy and frustrating task of smoothing it all. Clean-up comes next!
How to choose your shiplap
Although shiplap is very popular these days, it has been in use for decades. Shiplap was used first in many southern States as a durable and affordable covering for both the interior and exterior walls of homes.
True shiplap boards can be made from wooden boards that have a bunted edge on one side. When the boards are installed on walls and ceilings, they overlap to form an even, interlocking connection that can be watertight if done properly.
Shiplap’s best feature is that it expands or contracts because it is wood. This prevents shiplap from cracking. The rough side of most shiplap will be visible, while the smooth side is usually more prominent. There are two options for you to choose from, so it is up to your personal preference.
How to choose the best shiplap side
The smooth side is very easy to paint or stain, and will give a room an ultra-clean appearance. The rough edge side of shiplap can also be painted or stained and gives a rustic, cabin-like feel. The width of shiplap is up to twelve inches depending on the design.
A side note: To achieve the shiplap look, you can also use tongue and/or groove boards instead true shiplap boards. You can create the same look by leaving a little bit of space between tongue and groove. If you leave a slight gap between the tongue and groove, it’s difficult to tell the differences between shiplap and tongue & groove.
Get The Best Price
Here’s a tip: When sourcing boards, be sure to check with nearby sawmills to determine if they sell directly. This will often result in a higher price and greater selection than what big box lumber stores have.
Tools You Will Need
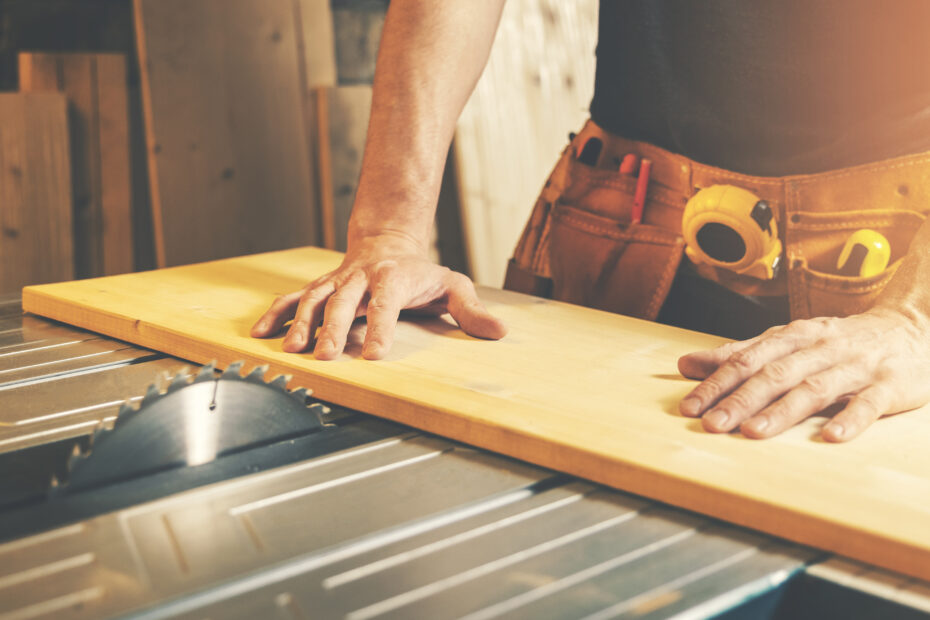
Shiplap installation is very simple. For cutting wood pieces, all you need is a tape-measure, long-level, nail guns, jigsaw, a circular saw, or chop saw. The jigsaw works well for small cuts or trimming around outlets and switches.
A nail gun is vital for fast and efficient job completion. While you can install shiplap using hand nails, it is tedious and takes a lot of time.
If you don’t have one, renting one is an option. You should look for a nail gun with a 2.5″ finish. The stronger the bond, the deeper the nails can be driven into the studs. You should be careful when nailing through layers of drywall.
What about Glue?
It’s not a good idea for shiplap to be glued. Wood, as a natural product will expand and contract according to changes in temperature and humidity. This can stop the natural process from occurring and cause cracks, splits, or bows to the wood if it is glued.
Now that you have all the tools in your arsenal, let’s look at how to install shiplap boards easily!
Drywall Vs. Bare Studs
It is very easy to install shiplap on top of bare studs. When you attach your shiplap to the wall, you will need to nail each stud. Because you’re working up, it’s easy to see where to nail.
Use 2-1/2-inch nails to attach to stud walls. This will provide enough space for the nails to be held in place by the studs. Even if you are nailing through the drywall, you still have a full inch to grab onto the studs.
Installing over drywall requires that you locate the studs in the wall first. This will make nailing much easier. With a stud finder, mark the location of each stud with a pencil. Mark each stud at multiple heights. Then draw lines to guide you in locating your nails.
Start at the Bottom
Installing shiplap requires that you always start at the bottom. This piece of advice has two important benefits.
The first is that gravity will be a useful aid to you as you move up the walls. Shiplap’s rabbited edges allow it to stack on top.
Working your way up the wall, from the bottom towards the top, the boards can be placed on the previous boards while you are preparing to nail. Also, if you start at the bottom, all your boards will have full width boards that run all the length of the wall to the top. This makes it look much more pleasing to see.
Installing The First Board
Start at the corner with your first board facing outwards. Place your boards in a corner so that the top rabbit can be seen, with the edge facing you. The bottom rabbit should face down. It will look like a full board.
Why is it important that you start in the corner? You can easily line up your boards on the opposite wall by starting at the corner. This is not an issue if your goal is to install shiplap on one wall or just one accent wall.
Installing the First Board
A few paint stir sticks can be used to lift the first board about 1/8 or 1/4 inch off the floor. This gives the board a little more room for movement and allows you to level the board.
Most floors aren’t level or plumb. Be sure to check the level on your first board before attaching. Trimming will fill in any gaps at the bottom. It is okay if the space below the surface appears to be not level.
Your nail gun should be used to drive a nail into each nail approximately 1” above the bottom. You can nail any stud you like, but shiplap will make sure that every stud is secured. Start at the bottom.
To Gap, or Not To Gap
It is possible to place your next boards flush, but many prefer a slight gap to achieve the shiplap look. For this purpose, you can place several coins equally between the boards before nailing. Many shiplap boards still have the name nickel-gap because they are made with nickel between them.
Over the years, we learned that paint stir sticks are a great alternative to coins. They are also longer and better for nailing.
Once you have your gap fixed, place the level on the top of the board and nail. This process can be repeated until the wall is reached. Use the level for each step. You can easily correct any boards that are slightly off-level by using the small gap.
Multiple Walls
Once you are satisfied with one wall, move on to another wall. Align the bottom board with the wall. Line up the end board against the wallboard so that the corners are flat.
While you’re working up the wall make sure to align each new board with the wall. After leveling the board, attach it to the wall. The process is simple, and it’s easy to master.
Finishing Looks
It is time to trim the wall or walls once they are up. You can use wood, but we prefer thick rope for trimming. It fits perfectly between the ceiling and walls. It attaches quickly with a pneumatic stapler.
The rope is flexible, so it’s easy to attach without making hundreds of complicated cuts. It is also quick to raise, rather than taking hours.